
Bathroom cleaning is easier when you separate the problems. Loose dust, soap residue and a water leak are not the same issue, and scrubbing harder will not solve all three. Use a steady order, keep toilet tools separate and choose products for the actual surface in front of you.
START HERE
The short answer
Identify the finishes, ventilate the room, and work from cleaner areas toward the toilet and floor. Remove residue with a compatible product before any needed disinfection. Dry the surfaces that allow it and address recurring moisture rather than repeatedly scrubbing the same discoloration.
Jump to the checklistThe essentials
- Remove loose dust before wet cleaning.
- Keep toilet cloths and brushes separate from sink and shower tools.
- Recurring dampness needs attention to its cause, not just another wipe.
What to have handy
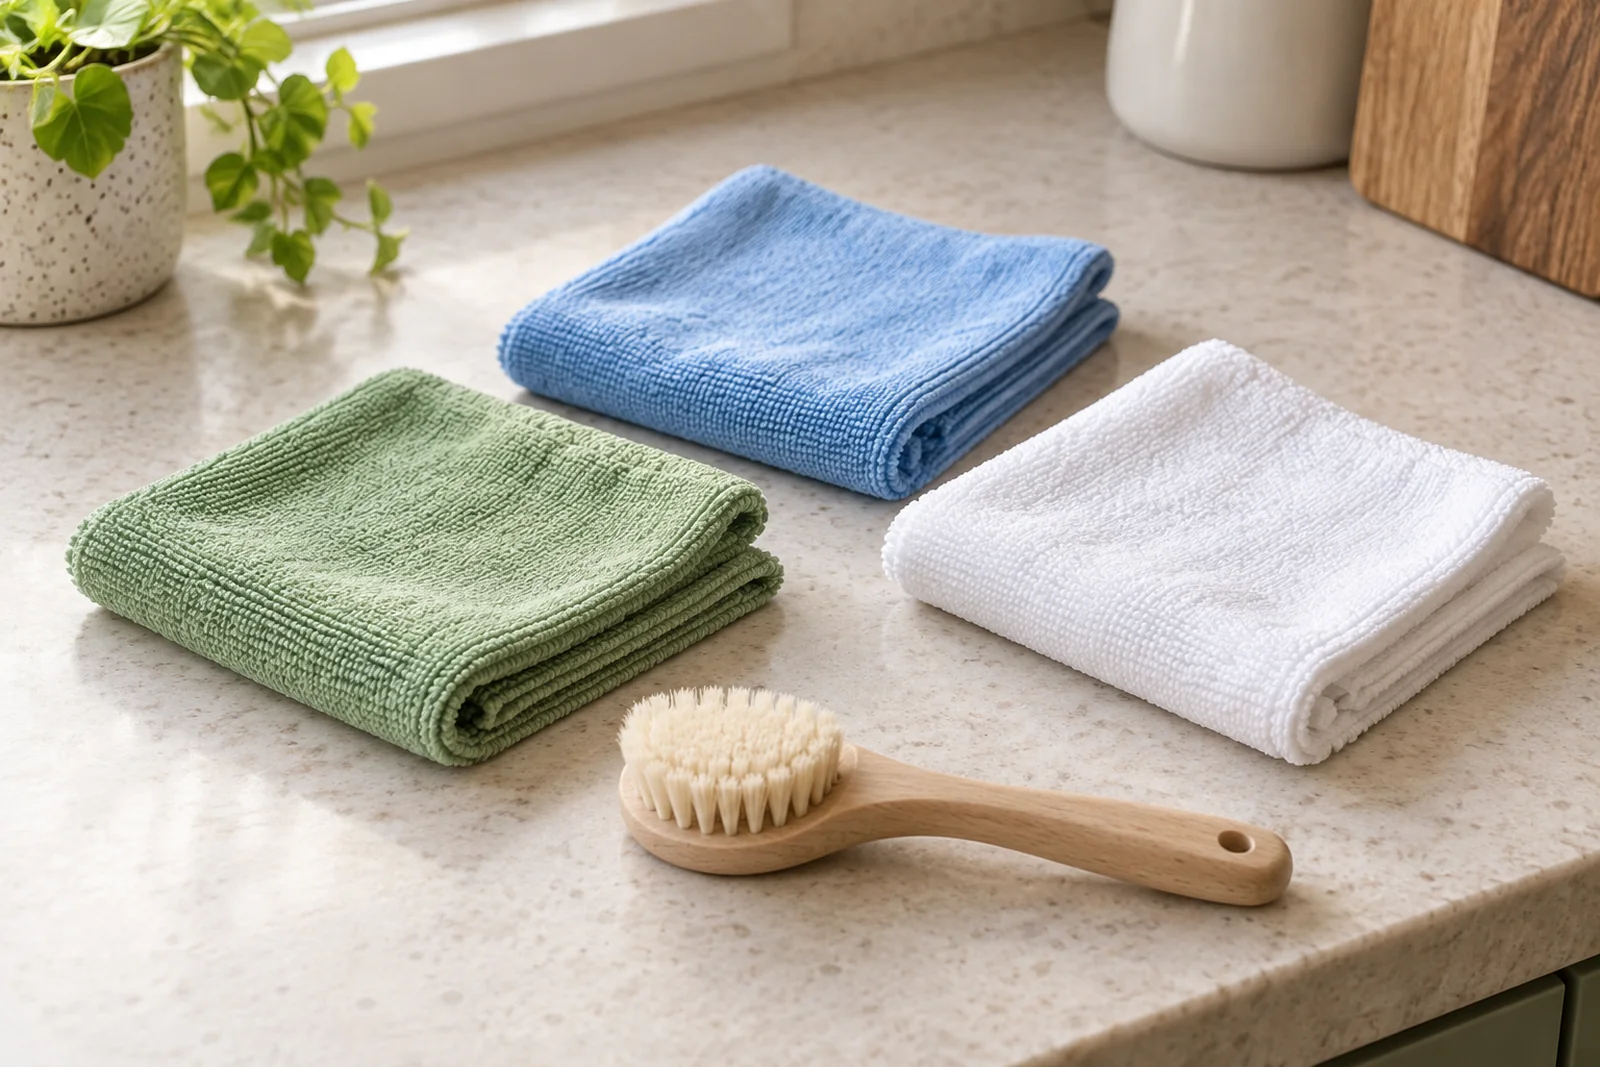
- Separate cloths for mirrors, general surfaces and the toilet
- Compatible bathroom cleaner and a non-scratch tool
- Toilet brush, floor tool and gloves as directed on product labels
Set up a clean-to-dirty workflow
Remove bottles and loose items from a small working area. Collect towels for laundering according to their labels. Remove reachable dry dust and hair, then work through the mirror, vanity and shower before the toilet. Keep a separate floor task for the end.
Read the product label before applying anything. Use the ventilation and protection it specifies. Never mix products or layer one over another to try to increase strength. If changing products, follow their directions for removing the first one.
Match the method to the bathroom finish
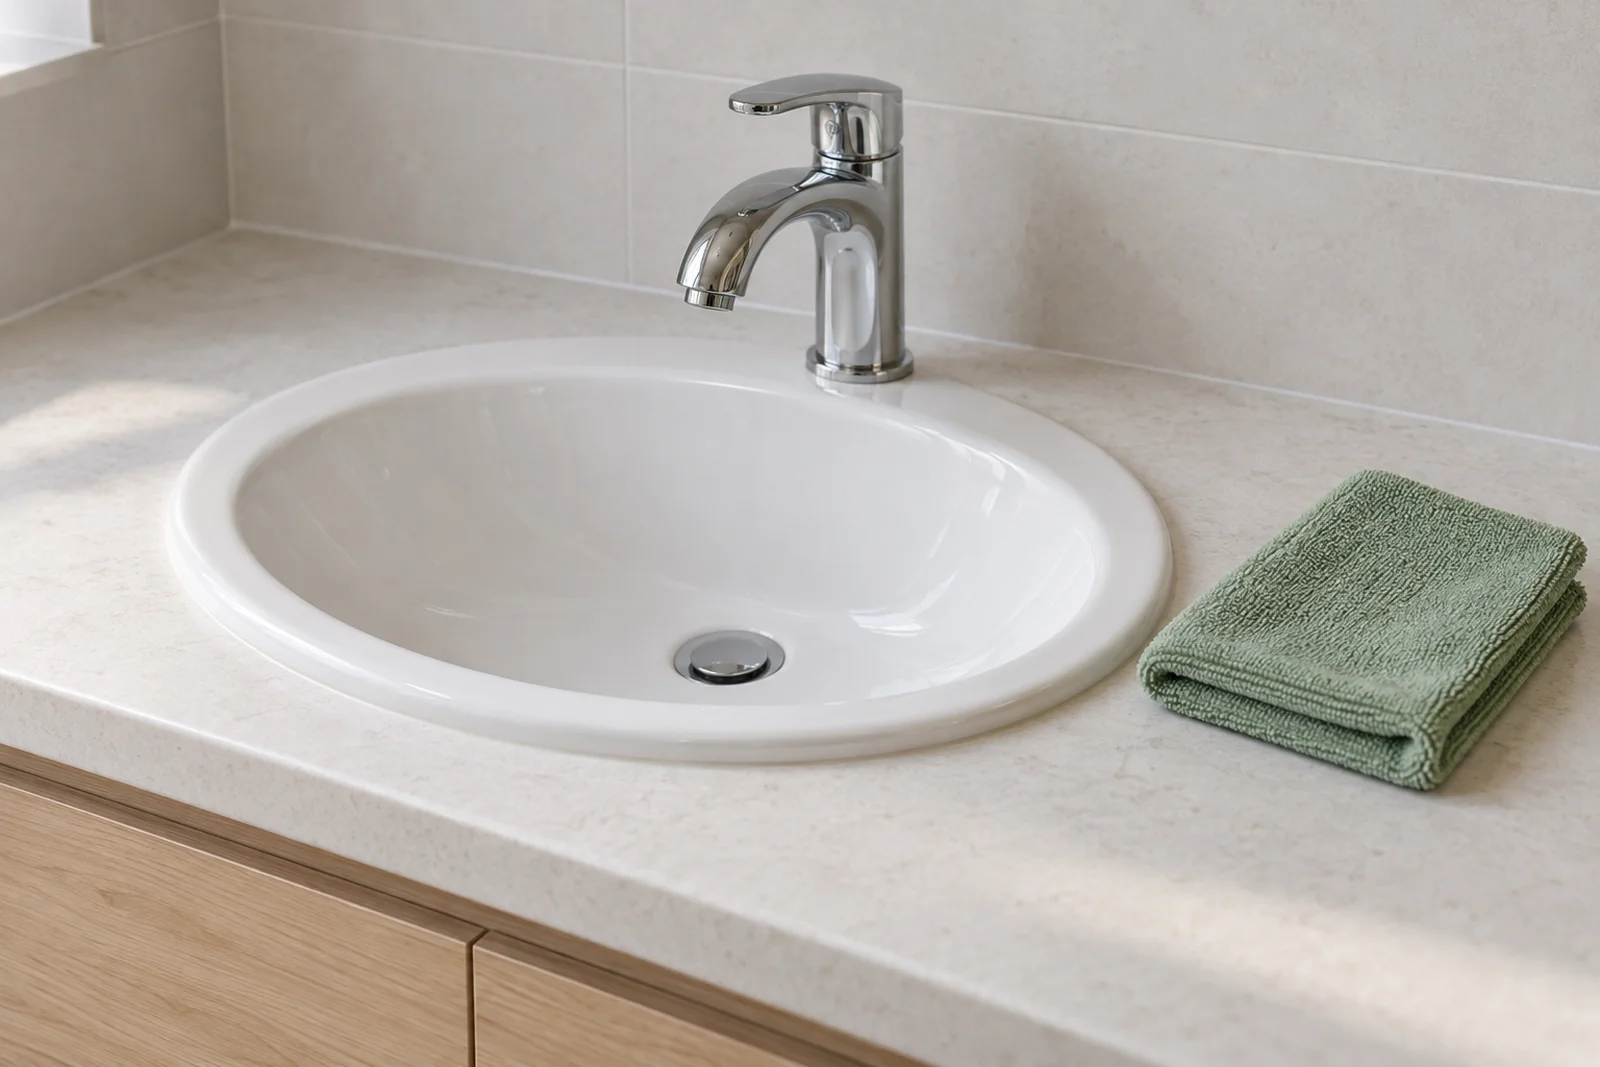
Before treating a white deposit, identify what is underneath it. Glass with a protective coating, natural stone, acrylic tubs and plated fixtures may require different products. Keep the product on the intended surface; overspray from a shower cleaner can reach a neighboring stone vanity or metal trim.
A small hidden-area test helps you check compatibility, but it does not replace the manufacturer’s instructions. Use the prescribed application and wait time. If you see a change in sheen or color, stop rather than increasing the product strength or pressure.
Clean the mirror, faucet and basin
Use the mirror’s recommended cleaner and a clean lint-free cloth. Keep liquid away from vulnerable edges and nearby outlets. On the vanity, remove loose residue before wiping around the faucet and basin. Lift soap containers and clean their bases so they do not immediately soil the surface again.
Check whether the countertop is natural stone. Stone-safe care is different from a general descaling method: acidic products can etch susceptible stone. For faucet coatings, follow the fixture maker’s guidance and dry with a soft cloth when directed.
Treat shower residue according to the material
First identify the surface: coated glass, tile, natural stone and acrylic do not necessarily tolerate the same cleaner. Use an approved product and let it work for the label’s stated time. Agitate gently with a suitable tool, rinse if directed and remove excess water.
If a cloudy area remains, do not keep increasing abrasion. It could be residue, mineral deposits or a change in the surface itself. Check the manufacturer’s method for the specific problem. Abrasive pads and improvised acid mixtures can turn a cleaning issue into permanent damage.
Work through grout, door tracks and faucet bases
Inspect tile joints before scrubbing. Loose grout, cracked sealant or a gap around a fixture needs repair rather than stronger cleaning. For sound, compatible surfaces, use a soft brush that reaches the joint without scraping its edges. Rinse as directed and avoid leaving a puddle along the joint.
Remove loose hair or debris from accessible shower-door tracks before applying cleaner. Use a cloth or small soft brush for corners; keep drain openings clear without taking the door assembly apart. Around the faucet, clean the base and underside of the handle where reachable, then dry only as the finish guidance permits.
Keep toilet tools in their own lane
Use a toilet product compatible with the fixture and follow its directions. Clean the exterior from cleaner areas toward dirtier ones with a dedicated cloth. Pay attention to the seat hinges and accessible base without dismantling parts that require special handling. Do not return that cloth to the sink or shower.
Finish by removing remaining debris from the floor and using the floor’s approved cleaning method. Work toward the exit so you do not walk back over the wet area. Leave the surface dry enough for safe use.
Complete the details without spreading dirt
Use fresh cloth faces as you move through soap dishes, handles and the outside of the small trash bin. Keep the toilet brush and toilet cloth separate from vanity and shower tools. When disinfecting a suitable surface, follow the label for how long it must remain wet and whether it needs a rinse.
Check bath mats and shower curtains for their own wash and dry instructions. Hang damp textiles so they can dry; do not pile them on the floor you just cleaned. Finish by looking behind the toilet where accessible and checking the door edge, switch plate and floor around the vanity. Keep liquid away from electrical fittings.
Distinguish cleaning from a moisture problem
A bathroom that repeatedly stays damp needs attention to ventilation, leaks or another moisture source. EPA identifies moisture control as central to preventing mold problems. Repeated growth, hidden dampness or damaged material calls for evaluation of the cause; a routine cleaning visit is not mold remediation.
For everyday upkeep, remove standing water where practical, hang towels so they can dry and use the bathroom’s ventilation as intended. Report leaks instead of treating water marks as a never-ending cleaning task.
Use a short maintenance rhythm
Respond to visible splashes and hair as they appear. During your regular bathroom clean, work through the vanity, shower or tub, toilet and floor. Rotate occasional details such as accessible cabinet fronts or shelving into separate sessions rather than exhausting yourself with every detail at once.
PUT IT INTO PRACTICE
Your cleaning checklist
Follow the steps that fit your home and mark your progress as you go. Check the care instructions for each material before you begin.
WHEN THE RESULT IS NOT WHAT YOU EXPECT
What to try next
Choose the issue you are noticing. More product or harder scrubbing is not always the answer.
Good questions. Practical answers.
GONCAN IN YOUR COMMUNITY
Want a hand with the cleaning?
For bathroom cleaning in San Leandro, Berkeley or Walnut Creek, the important distinction is maintenance versus buildup that needs closer attention. Goncan can include agreed bathroom tasks in regular or deep house cleaning, with the finish and current condition guiding the work.
Written by Goncan Cleaning Services using the care references linked throughout this guide. Follow the directions for your specific products and materials.