Floor cleaning starts before the mop comes out. Dust on shelves, grit near the doorway and crumbs beneath the table all need to be collected first. A good routine separates dry soil removal from the cleaning method suitable for the floor’s material and finish. That distinction matters more than how much water or product you use.
START HERE
The short answer
Collect loose dust and grit first, then choose floor care by the material and finish. Use the correct attachment, a clean pad and the specified amount of cleaner. Work toward the exit and let the floor dry before judging streaks or returning rugs.
Jump to the checklistThe essentials
- Dust reachable surfaces before the final floor pass.
- Identify both the flooring material and its finish.
- More cleaner can leave more residue; follow the dilution directions.
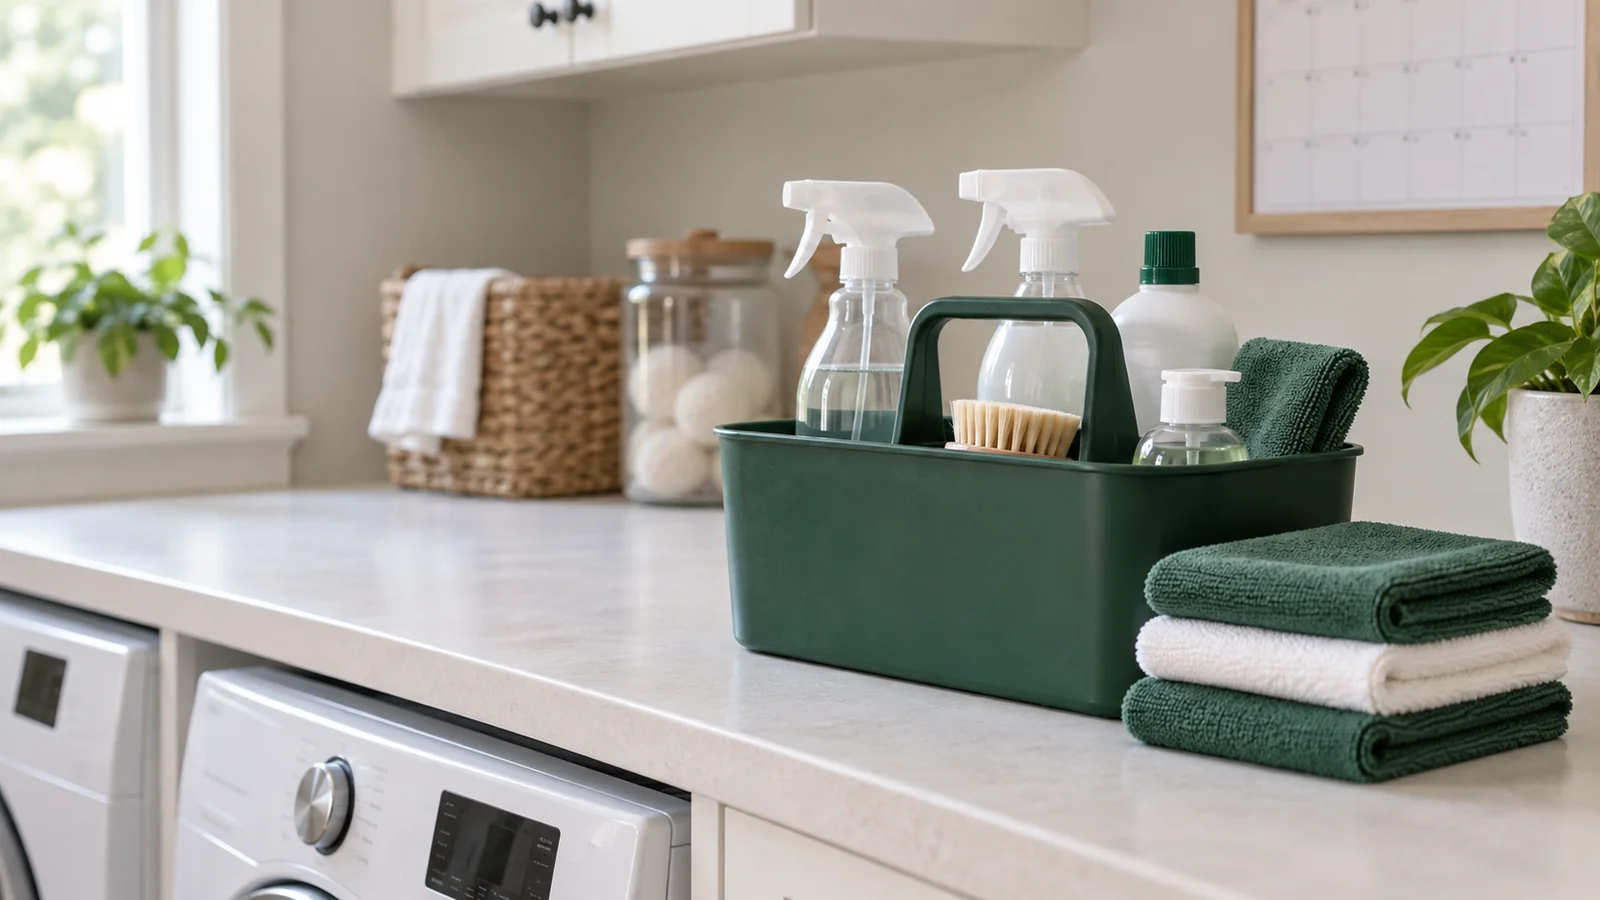
What to have handy
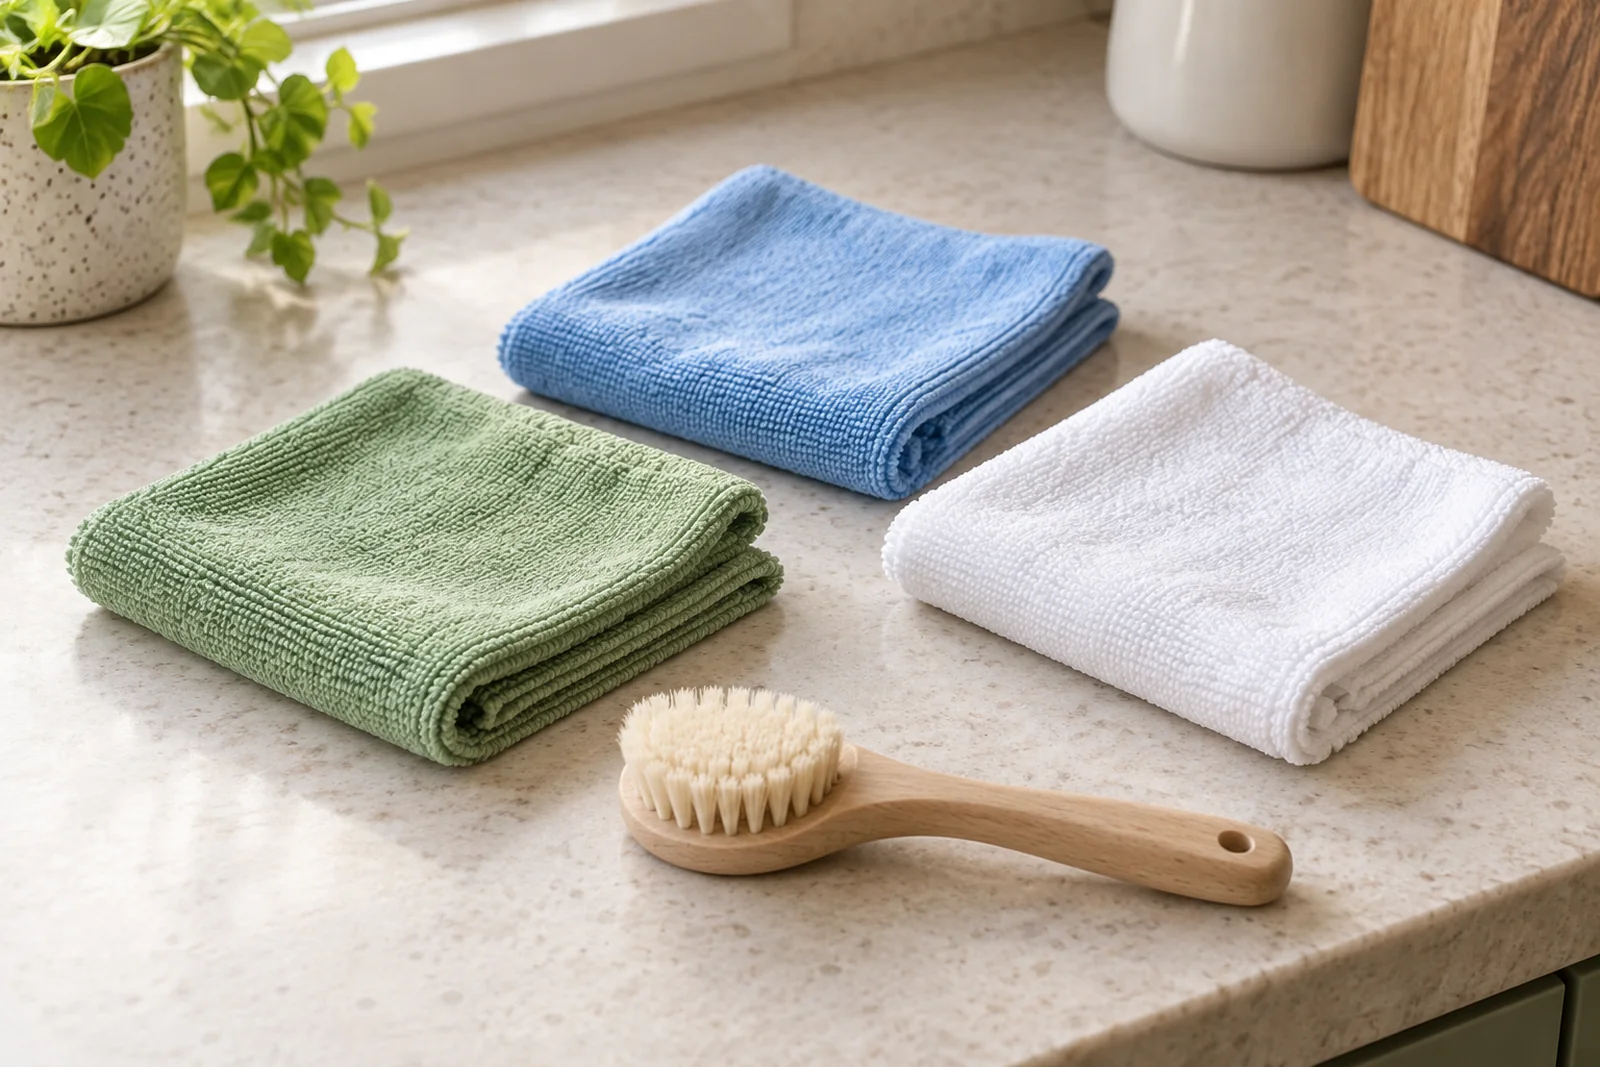
- Clean dusting cloths
- Vacuum or dry tool suitable for the floor
- Compatible floor cleaner and clean mop pad
Give dust a collection route
Choose one room and move around it systematically. Clean safely reachable shelves and furniture before low edges and the floor. Move small objects so the area beneath them receives attention, then put them back on a clean, dry surface.
Use different cloths for delicate finishes and dirty utility areas. A visibly dusty cloth needs a clean face or replacement. Do not push dust out of sight behind furniture; collect what you can reach safely and make the inaccessible area a separate task.
Check the tool before it touches the floor
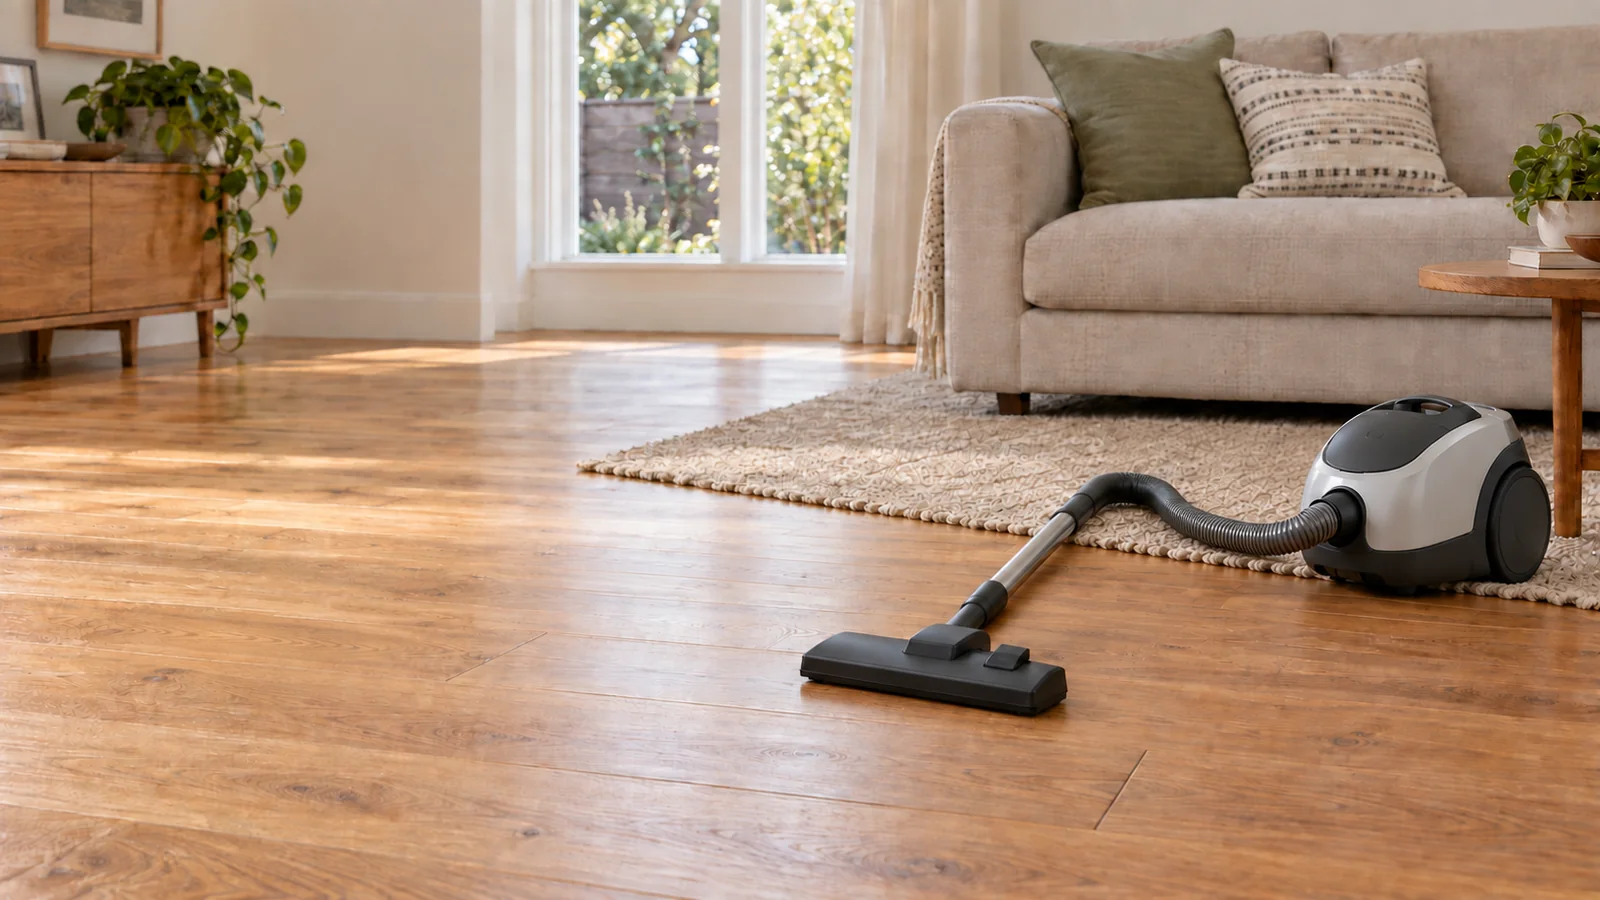
A suitable vacuum can still drag grit if its wheels or head are dirty. Inspect the underside and remove debris according to the manual before moving from carpet to a hard surface. Choose the brush setting approved for the flooring; an aggressive rotating brush can be unsuitable for a delicate finish or rug.
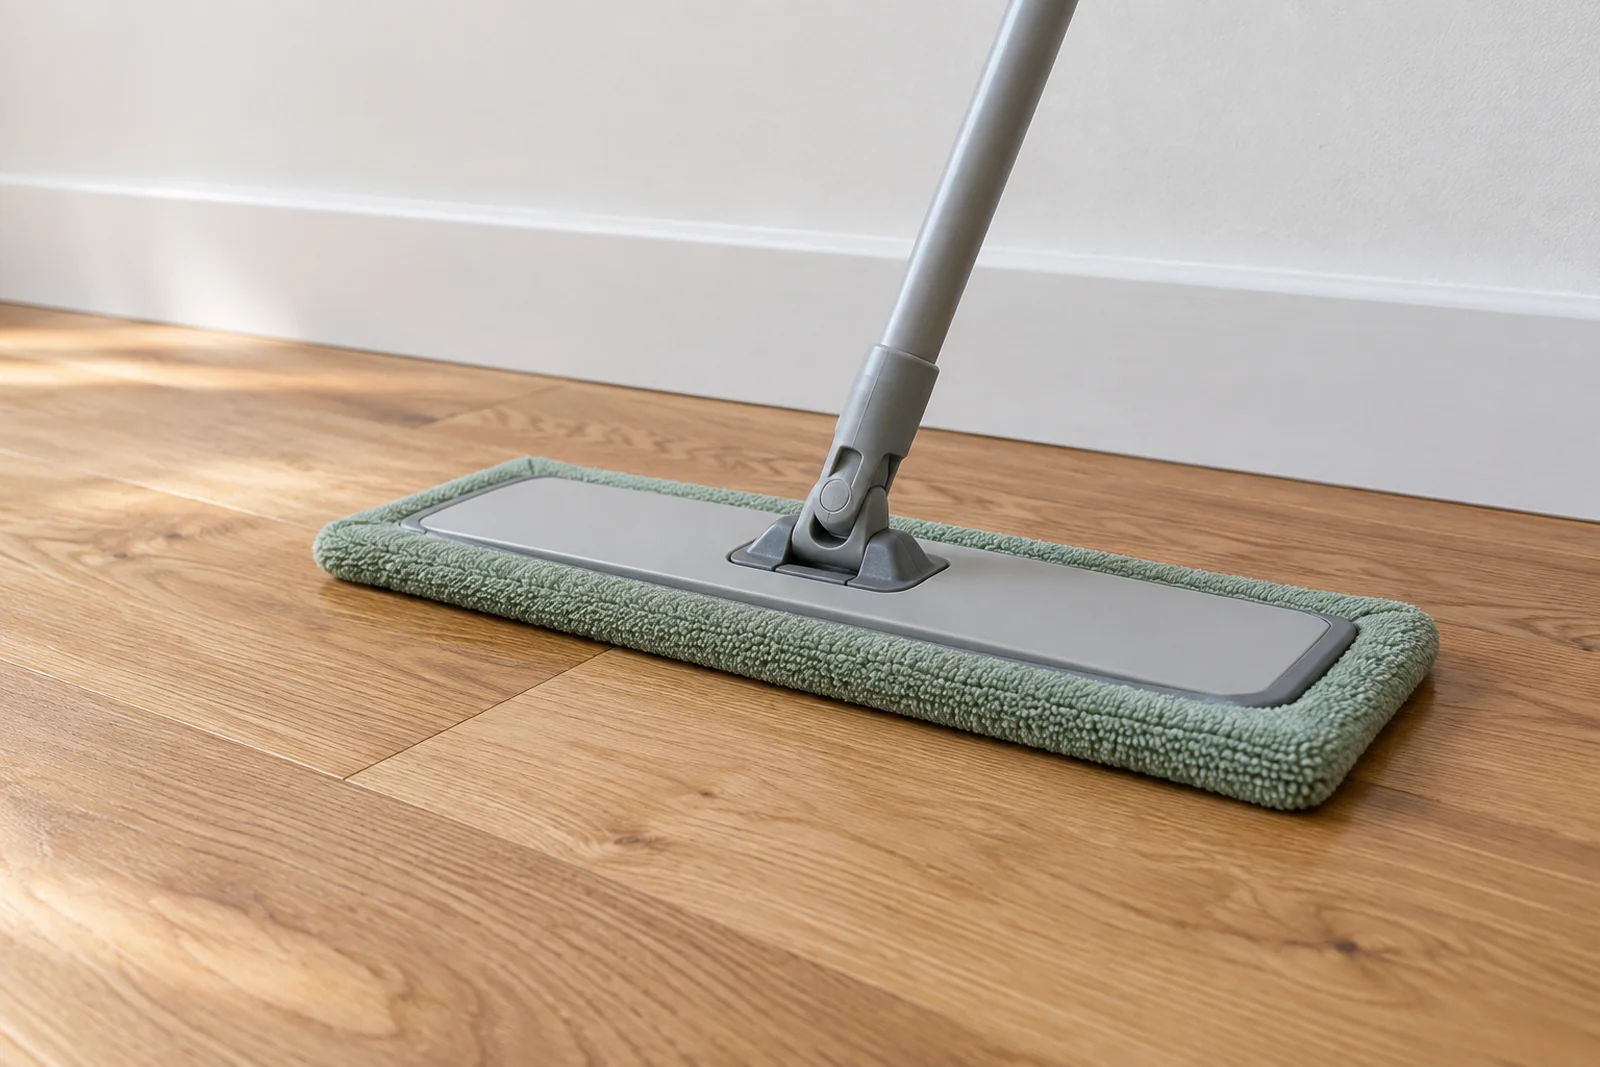
For mopping, start with a freshly cleaned pad and keep a spare nearby. A pad that is loaded with soil redistributes it instead of completing the job. Clean the tool after use and dry it as instructed so the next session does not begin with a dirty mop.
Collect grit before adding moisture
Pick up coins, clips and other objects that should not enter the vacuum. Select the attachment and brush setting recommended for the floor. Work through edges, beneath safely accessible furniture and the paths people use most. Check the vacuum’s bin, bag and filters according to its manual.
A regular slow pass is more useful than rushing over a dirty path repeatedly without checking the result. Inspect the floor at a low angle for remaining crumbs or grit before moving to the next step.
Choose the method by material
“Hard floor” is not one care category. Wood, laminate, vinyl, tile and stone may look similar while having different limits. Start with the flooring manufacturer’s instructions, especially for water, steam and cleaning-product compatibility.
| Floor | Useful approach | Avoid assuming |
|---|---|---|
| Wood | Remove grit and use a wood-floor product approved for its finish. | NWFA advises against wet mops and steam mops on wood floors. |
| Laminate or vinyl | Check the exact product’s cleaning instructions and seam-care limits. | A water-resistant label does not approve every cleaning method. |
| Tile or natural stone | Match the cleaner to the surface, grout and any sealer. | One product may not suit both stone and ceramic. |
| Carpet or rugs | Use suitable vacuum settings and follow the fiber’s care label. | Vacuuming and wet extraction are different tasks. |
Give transitions, corners and rugs separate attention
Work along the baseboard edge with a suitable attachment before the main floor pass. At a doorway where materials change, change the method too. Avoid carrying extra moisture from a tiled bathroom onto wood or laminate. Protect a neighboring rug from cleaner overspray.
Check a rug’s label before cleaning either side. Handle fringes carefully and avoid pulling them into a rotating brush. If you lift a small rug safely, clean the exposed floor and wait until it is dry before putting the rug back. Do not lift heavy furniture to reach one more corner.
Troubleshoot a floor that still looks streaky
Before trying a stronger product, check the basics: correct dilution, a clean pad, enough removal of loose soil and any rinse step required by the label. Replace a dirty pad instead of covering the entire home with it.
A scratch, worn finish or discoloration may not respond to cleaning. If the surface changes color, feels rough or remains cloudy after its approved method, stop and ask the flooring manufacturer or installer. Repeated scrubbing can make an existing problem worse.
Respond to spills without creating a larger problem
Keep people away from a wet area and remove the loose spill first. On carpet, blot with a clean white absorbent cloth instead of rubbing; check the fiber and product instructions before treating a remaining spot. On hard flooring, follow the finish-specific spill guidance and avoid forcing moisture into seams.
Let the area dry before assessing the result. A persistent dark spot, lifted edge or changed sheen may require a flooring specialist. Repeatedly soaking a mark can turn a small spill into a larger repair.
Make daily dirt easier to manage
Use a washable or otherwise maintainable entry mat that is suitable for the flooring, and clean it according to its label. Keep a defined place for shoes and bags so particles stay near the entrance. In homes with pets, focus routine collection on the places they rest and the paths they use.
Rotate one neglected detail into your weekly routine: a reachable baseboard, an accessible corner or the area beneath a light chair. This creates a manageable cycle without turning every floor clean into a furniture-moving project.
PUT IT INTO PRACTICE
Your cleaning checklist
Follow the steps that fit your home and mark your progress as you go. Check the care instructions for each material before you begin.
WHEN THE RESULT IS NOT WHAT YOU EXPECT
What to try next
Choose the issue you are noticing. More product or harder scrubbing is not always the answer.
Good questions. Practical answers.
GONCAN IN YOUR COMMUNITY
Want a hand with the cleaning?
East Bay homes contain many kinds of flooring. The same material-first approach applies in Fremont, San Leandro or Castro Valley. Goncan’s regular and deep cleaning plans can address agreed floor and dusting tasks; specialty restoration is a separate need.
Written by Goncan Cleaning Services using the care references linked throughout this guide. Follow the directions for your specific products and materials.