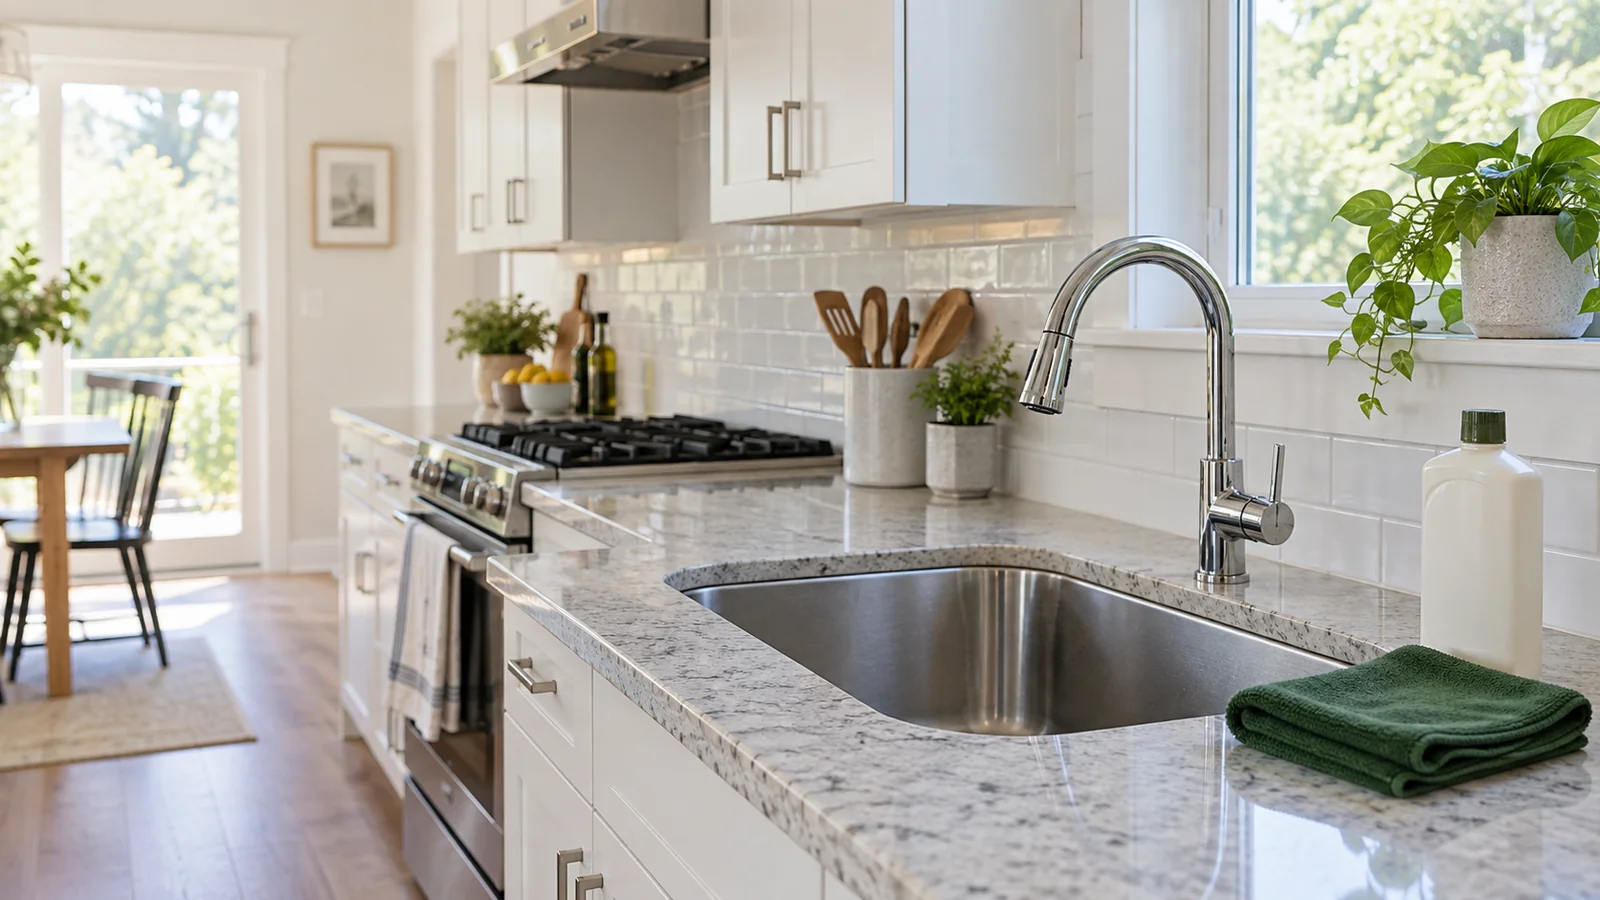
A kitchen can look tidy while cooking residue remains around handles, near the stovetop or under countertop appliances. Work through one zone at a time: remove loose debris, clean the material appropriately and finish by drying where required. The goal is a usable cooking space, not an experiment with stronger and stronger products.
START HERE
The short answer
Clean an available section at a time: remove food and dishes, identify the surface, loosen and remove residue, then rinse or dry as directed. Leave the floor until last. Plan refrigerator and oven interiors separately so food stays protected and hot appliances have time to cool.
Jump to the checklistThe essentials
- Clear and clean a section before moving to the next.
- Stone, coated steel and appliance interiors need different care.
- Read labels; never mix cleaning products.
What to have handy
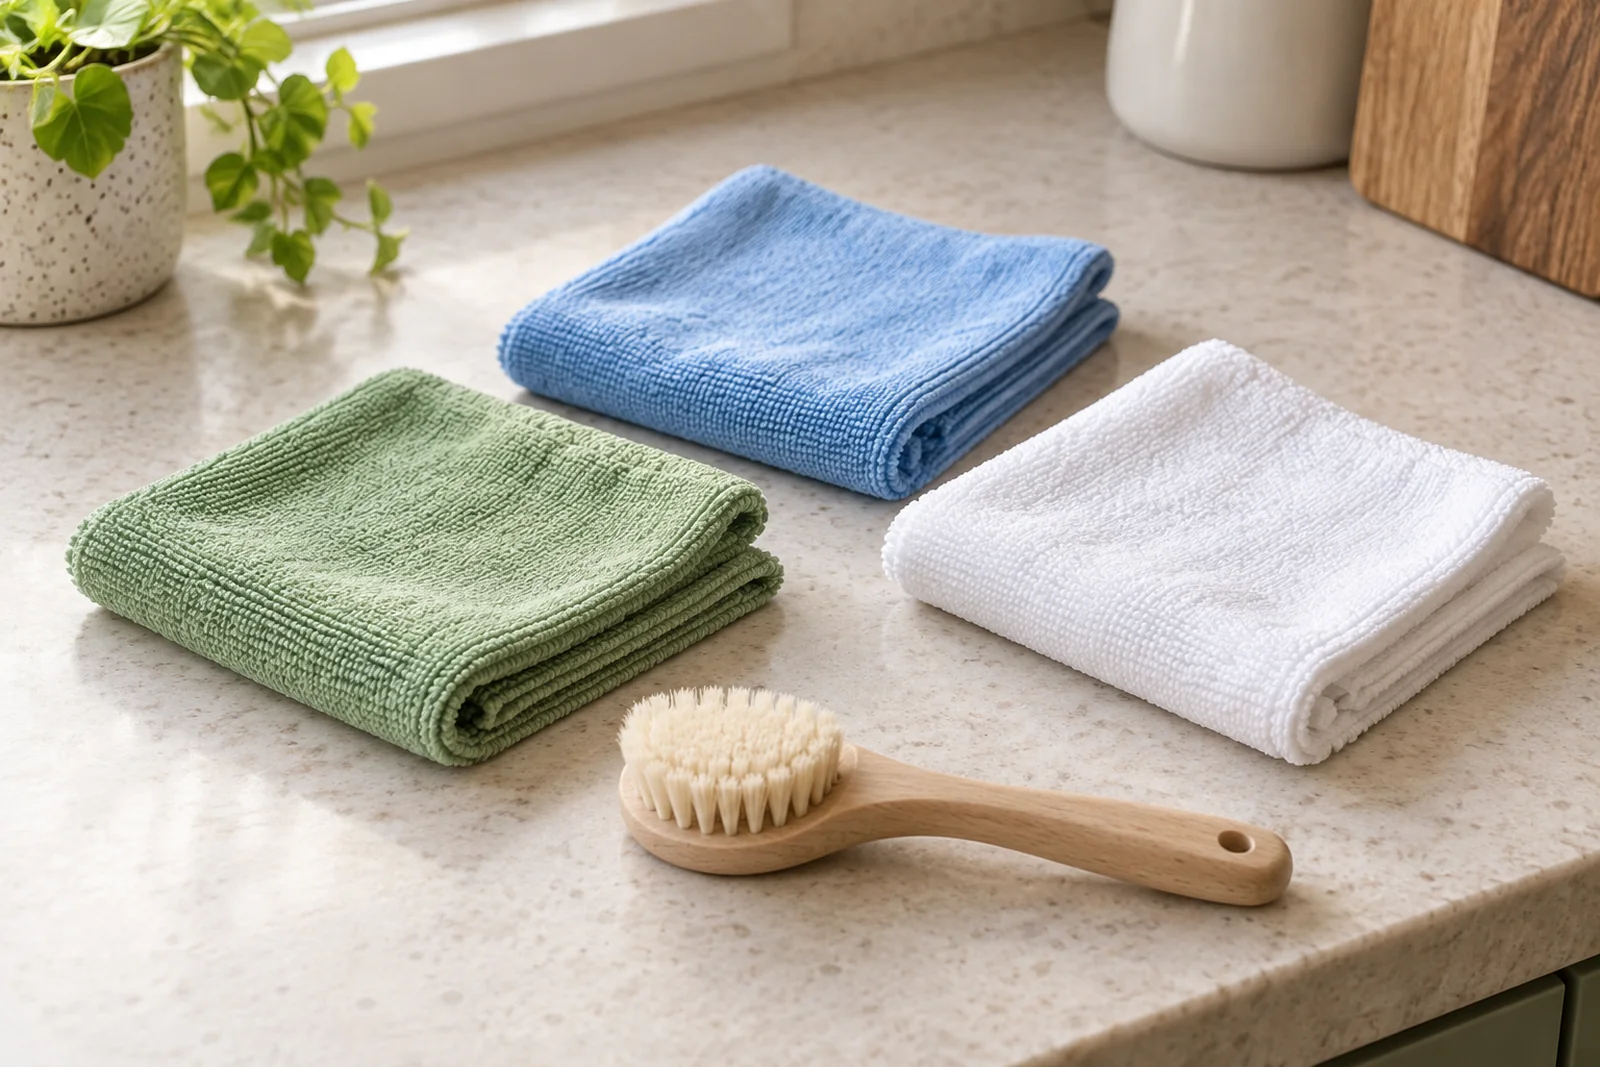
- Separate clean cloths for food-preparation surfaces and other tasks
- Non-scratch tool approved for the surface
- Compatible cleaner, dish soap and a drying cloth
Choose an order that avoids doing things twice
Put away food, collect dishes and empty a manageable section of counter. Remove crumbs before wiping sticky residue. Continue around the room, working from higher surfaces toward lower ones. Clean the sink after the tasks that need it, and leave the floor until the end.
- Clear one counter and the items resting on it.
- Clean cabinet fronts and handles where needed.
- Clean the cooled cooking surface using its approved method.
- Finish counters, sink and then the floor.
Identify your countertop before choosing a product
Do not assume that all polished counters are the same material. If you do not know the surface, check installation records or the manufacturer. Use a small hidden test where recommended, and pay attention to seams, edges and damaged areas.
| Surface | Care decision |
|---|---|
| Natural stone | Use a stone-compatible, non-acidic cleaner; vinegar and lemon are not universal choices. |
| Engineered quartz or laminate | Check the maker’s directions for cleaners, abrasives and seam moisture. |
| Wood or butcher block | Follow the finish’s care plan; wipe spills promptly and avoid standing water. |
Remove grease without attacking the finish
Start with the product approved for your cabinet or cooking-surface finish. Apply only as directed and allow any label-specified working time before wiping. Use a clean part of the cloth for each pass; a greasy cloth can spread a film across the next door. Dry seams and edges when the care instructions require it.
If residue remains, repeat an approved method rather than switching immediately to an abrasive pad. A dull spot, peeling finish or scratch is not necessarily dirt. Stop when the finish changes and check the material guidance.
Check whether your stainless steel has a coating
Fingerprint resistant stainless steel can have a protective coating with different cleaning requirements from uncoated steel. Whirlpool recommends mild soap and water followed by wiping and drying for its fingerprint resistant finishes, and advises against abrasives and chlorine bleach. Check your own model before using a polish.
For microwaves, ranges and ovens, follow the appliance manual for removable parts and interior coatings. An oven’s self-clean, steam-clean and manual-clean options are not interchangeable. Do not add a chemical oven cleaner to a cleaning cycle unless the manual explicitly permits it.
Give the cooktop and microwave their own method
Check that the cooktop is off and cool before starting. Lift off loose crumbs without dragging them over the finish, then use the cleaner and pad approved for that model. Removable grates, knobs and burner parts may have different instructions; do not soak a part simply because it comes off. Keep liquid out of ignition components and controls.
For the microwave, remove the turntable only as instructed and let a hot tray cool before washing. Clean food splashes on the interior, door and accessible edges with a compatible method. Avoid flooding openings or disturbing seals. Dry removable parts before replacing them, and address damaged seals or sparking with the appliance manufacturer.
Finish food-contact areas carefully
Remove dishes and food scraps from the sink before cleaning its bowl, rim and faucet. Lift removable strainers and soap trays so you can clean the surfaces beneath them. Use a separate clean cloth for the final pass over counters where food will be prepared; do not reuse the one that cleaned the trash bin.
If a product requires a rinse on food-contact surfaces, include that step before the surface is used again. Cleaning removes soil; any additional sanitizing or disinfection must follow the product’s directions, including its allowed surfaces and contact time. Do not combine cleaners to make a stronger mixture.
Clean the refrigerator in small sections
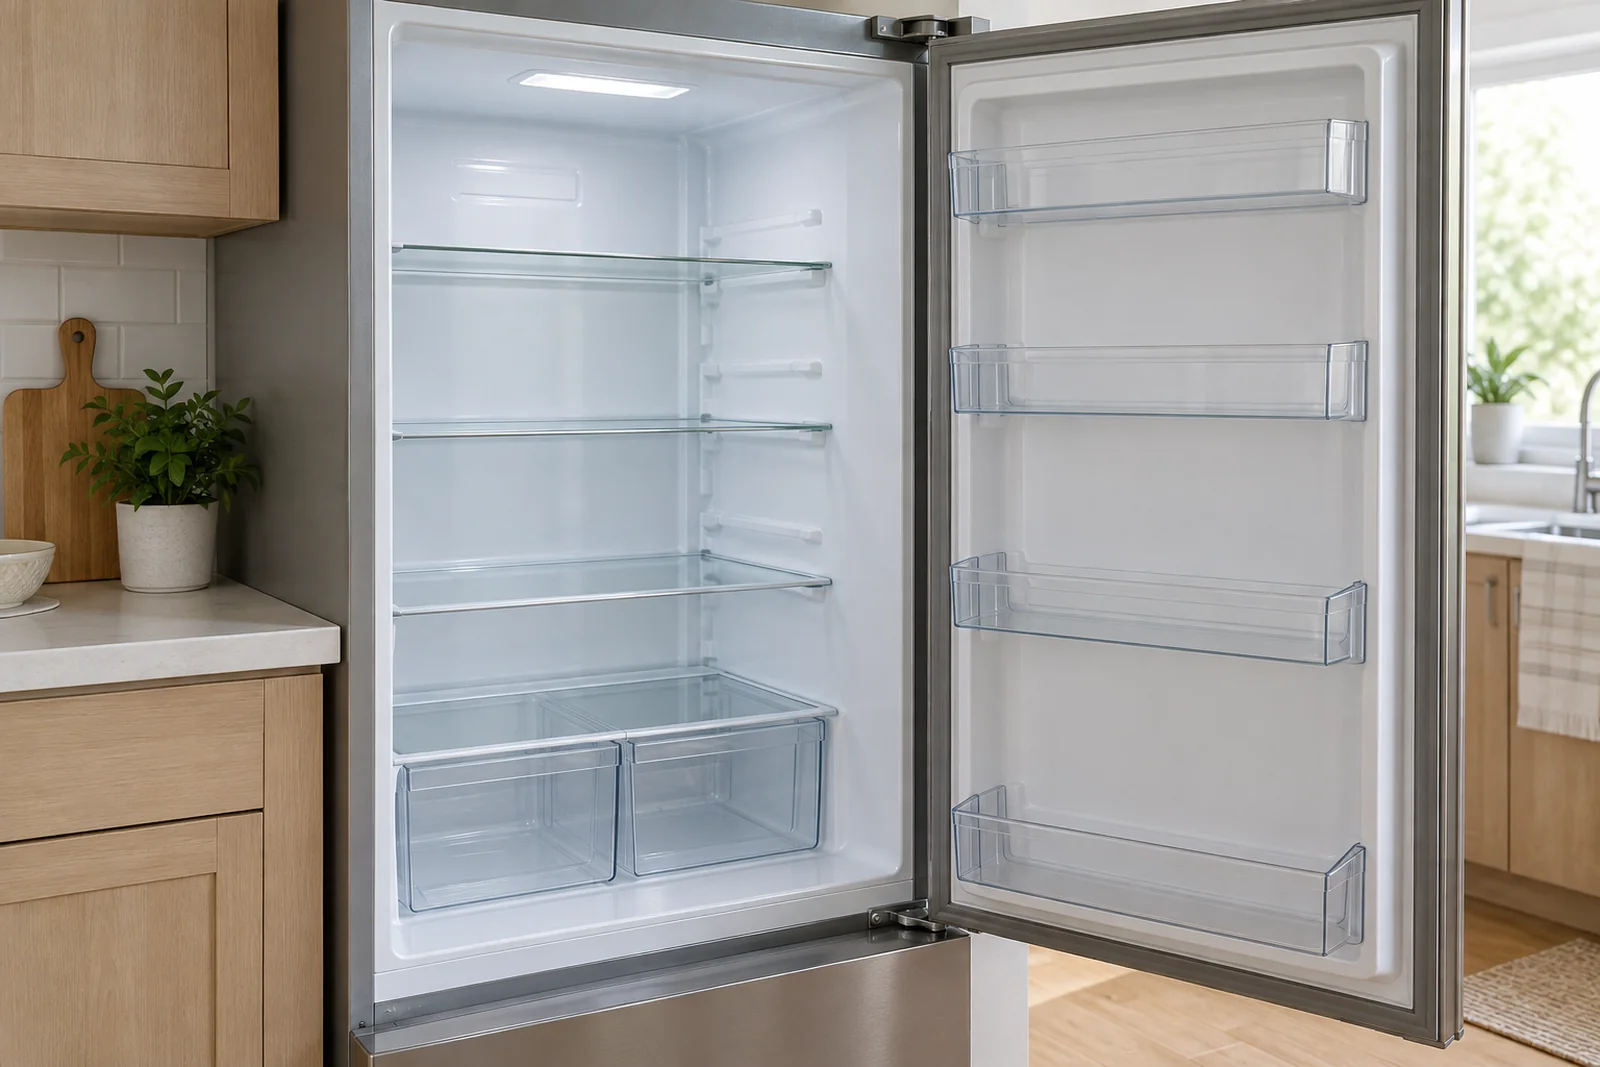
Keep perishable food cold while you work, using another refrigerator or a suitable cooler when needed. Follow the appliance manual for removing shelves and drawers. USDA advises cleaning spills promptly and washing refrigerator surfaces with soapy water, then rinsing; avoid abrasive or solvent products that can damage finishes or affect food.
- Work through one shelf or drawer at a time.
- Remove food debris, clean, rinse as directed and dry before replacing parts.
- Wipe container bottoms before returning them.
- Check temperature: the refrigerator should remain at 40°F / 4.4°C or below.
Plan oven cleaning before starting a big kitchen reset
Find the instructions for your exact oven model before choosing manual, steam or self-cleaning. These modes are not interchangeable, and racks or other accessories may need to be removed. Avoid adding commercial oven cleaner to a cycle unless the manufacturer explicitly allows it.
Choose a time when the kitchen will be available and you can follow the required ventilation and cooling instructions. A large oven project should not compete with meal preparation or refrigerator cleaning. Finish one appliance, restore the work area and then decide whether there is time for another.
Make the next clean easier
After cooking, deal with food residue once surfaces are safe to touch. Wipe spills, clear dishes and return commonly used items to a defined place. During a regular weekly pass, check handles, counter edges and the space beneath small appliances that can be safely moved.
If disinfecting is needed, first remove dirt and then follow the disinfectant’s label, including contact time and any food-contact-surface rinse. Cleaning and disinfection are different steps; adding more products does not make a routine more effective. Never mix products.
PUT IT INTO PRACTICE
Your cleaning checklist
Follow the steps that fit your home and mark your progress as you go. Check the care instructions for each material before you begin.
WHEN THE RESULT IS NOT WHAT YOU EXPECT
What to try next
Choose the issue you are noticing. More product or harder scrubbing is not always the answer.
Good questions. Practical answers.
GONCAN IN YOUR COMMUNITY
Want a hand with the cleaning?
Cooking habits and surface materials determine kitchen care more than a city name. Whether your home is in San Leandro, Hayward or Alameda, Goncan can help with agreed kitchen tasks as part of regular or deep house cleaning. Oven and refrigerator interiors can be requested separately; microwave interior cleaning is part of the personalized Deep Cleaning scope.
Written by Goncan Cleaning Services using the care references linked throughout this guide. Follow the directions for your specific products and materials.